Showing posts with label Modern Petunias. Show all posts

Wednesday, January 30, 2019

Creating Flower Wreaths w/Joni Two Ways

Floral stamps are so versatile, especially if they include individual blooms or smaller clusters. You can build bouquets, use them separately, create all over patterns, or create wreaths.

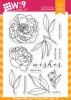
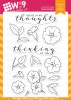
For today's projects, you can easily use any flower stamps and dies you already have on hand. For my first project, I've used the Modern Petunias stamps and dies. And for the sentiment I used the Birthday Wishes stamp set.

To begin, I used Wplus9 Nautical Navy cardstock, distressed it with Distress Oxide Ink in Peacock Feathers around the card and left the middle card dark. Because the Distress Oxide Inks have both dye and pigment ink properties, I was able to "brighten" up the edges of the darker cardstock with the lighter color. I then splattered it with water and Gansi Tambi Starry Colors.

I colored the flower images with Copic markers, then die-cut them using their matching dies.

Next, I added some Pretty Pink Posh Jewels in Pearl White Jewels. To finish off the card, I heat embossed the sentiment "hope your birthday is extra" in white on black cardstock, fussy cut it out, and adhered it using foam tape.

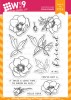
For my next project, I used the Hello & Thanks stamps and dies. This set doesn't have individual flowers, but it does have several smaller clusters of flowers that can also be combined to create a wreath.

I first distressed the white card panel with Distress Oxide Inks in Worn Lipstick and Spiced Marmalade, then splattered it with water.

Next, I stamped the images on white cardstock in black ink. Again, I used Copic markers to color them and then die-cut each image using their matching dies.

For the sentiment, I used the larger "thanks" included in the same stamp set, and heat embossed it in Aqua Tinsel. For the smaller sub-sentiment, I used white heat embossing on a black strip of cardstock.

To really kick it up a notch, I added some Diamond Stickles selectively on some of the flowers and leaves.

Finally, I added some Pretty Pink Posh Ivory Jewels for added interest to finish off the card.

I hope you guys enjoyed, and as always, thanks for stopping by!

Featured Supplies

For your convenience, here is a list of the featured Wplus9 supplies used on today's project(s), along with links to purchase.

Wplus9 White Cardstock
Shop at:
WP9
Wplus9 Black Cardstock
Shop at:
WP9
Birthday Wishes
Birthday Wishes
Shop at:
WP9
Hello & Thanks
Hello & Thanks
Shop at:
WP9
Hello & Thanks Die
Hello & Thanks Die
Shop at:
WP9
Modern Petunias
Modern Petunias
Shop at:
WP9
Modern Petunias Die
Modern Petunias Die
Shop at:
WP9

Friday, November 3, 2017

SPECIAL GUEST ARTIST: Masking w/Cynde Whitlow

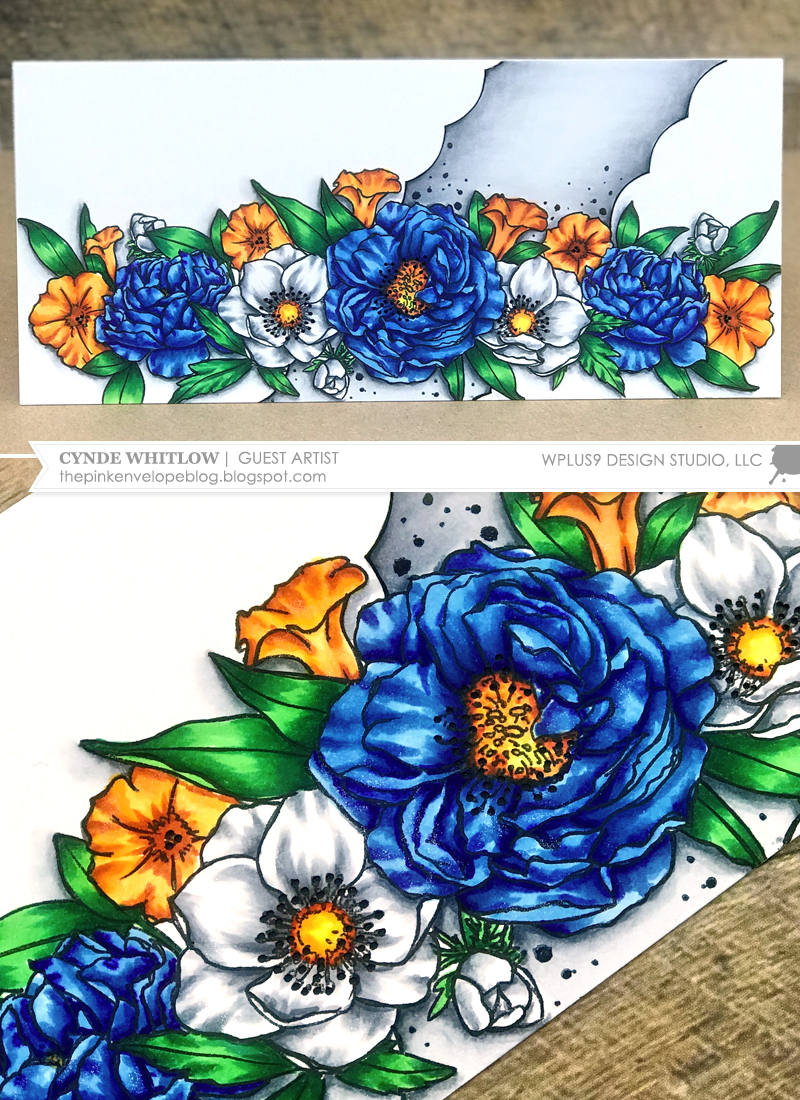
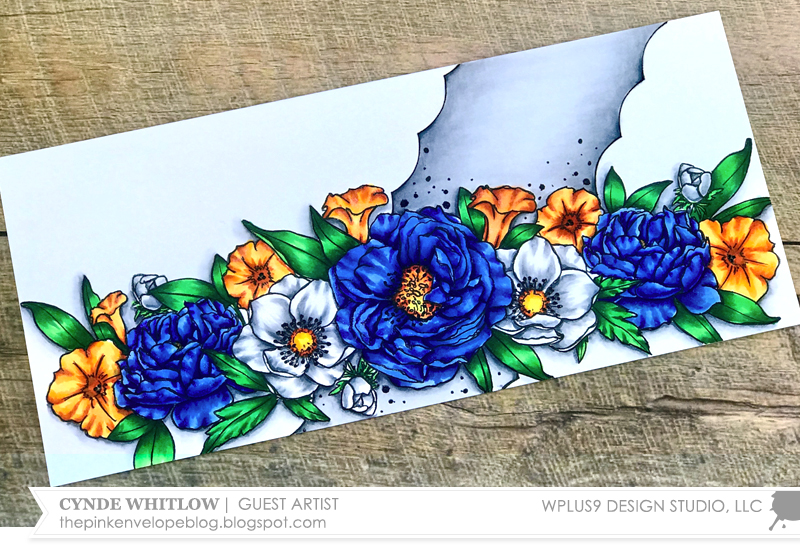
Hey folks, It’s Cynde from The Pink Envelope! I’m so excited to be back for another Wplus9 Guest Design Post. The last time I visited, I shared a card that had loads of masking to make a scene. Well, today’s card is much the same, however I wanted to take a closer look at how it works with a more streamlined layout.

For my card today, I used the Wplus9 Modern Floral Series because these flowers are simply gorgeous!

I will cover some of the details here, but I go over loads more information in my video, so be sure to stop by and check that out!


Watch above or watch in HD at YouTube

Scenes like these can seem overwhelming. They are surprisingly easy though! In the video, I show you how I approach each step along the way and I talk about how and why I color it all in.

The first thing I always recommend to do first is stamp out all of your images for your masks. I love 3M Full Stick Post-It Notes, because you can stamp the image once, pull off several sheets at time, cut that out all at once. It's a huge time saver! I took out all of the images that I thought I wanted to use from the Modern Anemones, Modern Peonies and Modern Petunias stamp sets and made masks from them. Even if I wasn't sure I was going to use them. Better to have them if I need them while I'm doing all of my cutting.

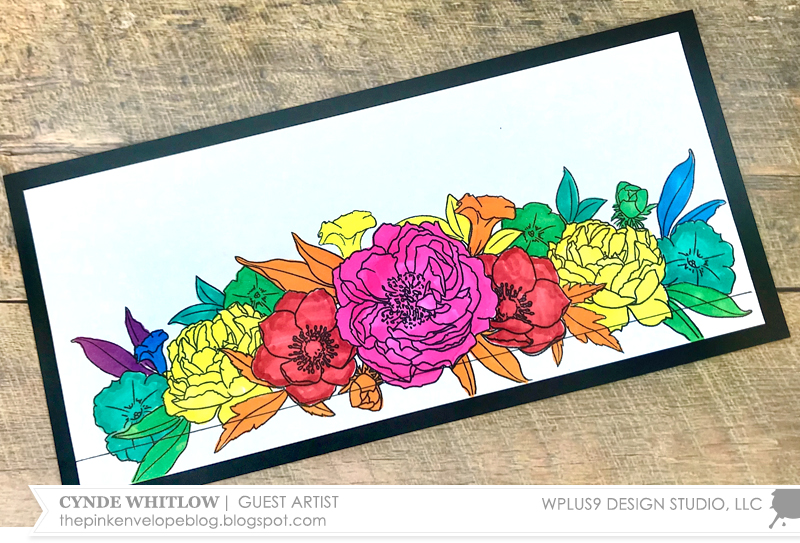
The next important this I recommend is making a plan. Copy paper is inexpensive, so if you don't like what you've stamped so far, throw it away and start over. Whatever paper or cardstock you using to stamp out your plan, make sure that you have it cut to the exact dimensions that your finished card will be. This way you know exactly how much space you'll be working with when you really get down to business.

The picture above was what my plan looked like. I colored it in to show you guys in what order each image would be stamped, but this is where I would have started before I did any actual stamping on my card panel.

If you follow the plan above, your stamping would go in rainbow order. When masking, your foreground images always get stamped first. In this case, I stamped the large peony (as shown in pink) from the Modern Peonies stamp set first and masked it off with my Post-It mask, then moved on to the 2 anemones (shown in red) from Modern Anemones and again, masked those off. Next was a petunia (as shown in orange) and other images. I continued to do this - stamping and masking - until I had everything stamped.

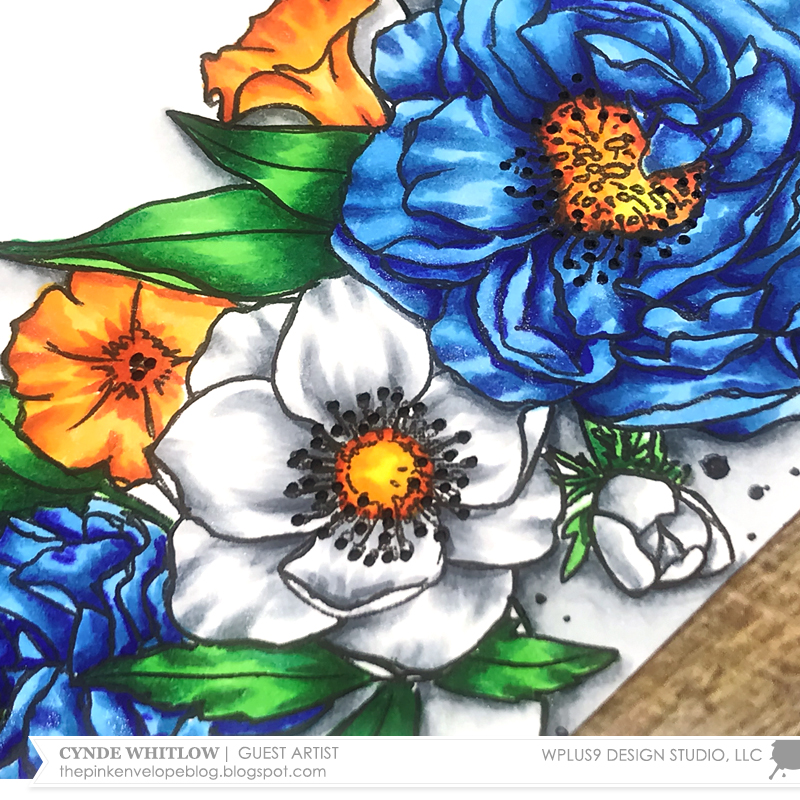
I used a Copic friendly paper and ink since I knew I would be coloring this card with Copic Markers. And since I knew that there would be A LOT of coloring, I kept my techniques simple. Which is something else, I highly recommend. The trick is in the scene itself, not necessarily in how fancy the coloring is.

Just in case you’re interested in the colors I used:

  • Blue Peonies - B12/B14/B18
  • Anemones, Drop Shadows and faux frame - C00/N1/C3/N5
  • Petunias - Y02/YR12/YR14/YR18/Y38

My other tip is don't feel like you have to go for the gold and make a really large card. You don't. An A2 (4.25" x 5.5") card would work just fine folks and it will still look fab!

You could absolutely stick strictly to just stamping your scene, coloring it in and you would be good to go. I however, do not know how to leave well enough alone, so I used the Wplus9 Scalloped Border Die and made a stencil out of acetate. Then, I placed it where I wanted it on my panel, traced it with a Copic friendly pen and colored it in.

I really enjoy using those tiny lil images in stamp set, so on this card, I used the little dots that are from the Wplus9 Biggest Fan Set stamped with Wplus9 Black Ink. No card is complete without some shimmer, so I used the Spectrum Noir Clear Overlay Pen on all of the highlights on each flower.

Whew! It seems like a lot, and I could talk about it all day. Masking is my favorite technique in card making because the possibilities are endless. Using images like these make it that much more fun! I do cover tons more information in the video so be sure to check it out!

I hope you enjoyed my card today and thanks so much for stopping by to see me!

Until next time! ~Cynde

Featured Supplies

For your convenience, here is a list of the featured Wplus9 supplies used on today's project(s), along with links to purchase.

Thursday, November 2, 2017

Rose Builder Sympathy With Kara

Hey guys Kara here again. Today I have a sympathy card to share with you. I didn't have one in my stash because they are not typically a card we want to make, but sometimes necessary.

In my opinion, simple floral cards are always appropriate for this situation. I chose the beautiful Rose Builder stamp set for my card. I decided to keep my embellishment to just one corner of my card. On the card front itself I stamped a large rose and a few leaves. This way when I placed my die cut elements on top the stamped images would fill in any blank space.

For my roses I chose to stamp only three of the four layers. I used Shell Pink as my base, Sweet Gelato next and finally Cranberry Crush. For my leaves I used Mojito and Appletini ink.

I don't think the card has to say 'sympathy' which is why I chose this sentiment from Modern Petunias. I think it coveys the feeling that I want to get across. My message inside can be more specific.

Thanks so much for stopping by today!

Featured Supplies

For your convenience, here is a list of the featured Wplus9 supplies used on today's project(s), along with links to purchase.

Thursday, August 31, 2017

VIDEO: Centerpiece Thank You with Kelly

Hello Crafters! I don't know about you guys but I'm trying to sneak in as many bright flower cards as I can before summer ends!

I'm not exactly an interior designer but I have seen the fruit/flower combination before and I always though they were adorable. Since we recently came out with the Summer Citrus set I thought it would be the perfect way to celebrate summer.

I combined a distress ink background and my Copic markers to create this brightly colored summer bouquet. You can watch the whole card in the video below, and if you watch to the end you'll get to see a cameo by my special helper!


Watch above or watch in HD at YouTube

I may or may not have a future stamper on my hands. He also likes helping with laundry, dusting, and making dinner at this point so I'm not holding my breath.

I'm really loving the bright green of those leaves with the pink flowers. I think I'm going to have to use that color combination more often! What's your go to color combination?

Thanks so much for stopping by!

Featured Supplies

For your convenience, here is a list of the featured supplies used on today's project(s), along with links to purchase. Please note: this list contains affiliate links.

Wplus9 White Cardstock
Shop at:
Wplus9
Wplus9 Black Dye Ink
Shop at:
Wplus9
Wplus9 Modern Petunias
Shop at:
Wplus9
Wplus9 Basic Labels
Wplus9 Basic Labels
Shop at:
SSS | Wplus9
Wplus9 Summer Citrus
Shop at:
SSS | Wplus9
Wplus9 Pretty Peonies
Shop at:
SSS | Wplus9
Wplus9 Merry & Bright
Shop at:
Wplus9
Sakura WHITE GELLY ROLL Medium Point Pens Set
Shop at:
SSS
EK Success WRITING PEN FINE TIP
Shop at:
SSS
Fiskars PREMIUM CUT LINE Paper Trimmer 12 Inches
Shop at:
SSS
Tombow MONO MULTI Liquid Glue
Shop at:
SSS
Ranger MINI ROUND INK BLENDING TOOLS
Shop at:
SSS
Ranger MINI ROUND FOAM REFILLS for Mini Round Ink Blending Tools
Shop at:
SSS
Tim Holtz Distress Ink Pad SALTY OCEAN
Shop at:
SSS
Ranger Inkssentials Non Stick CRAFT SHEET
Shop at:
SSS
Simon Says Stamp LARGE GRID PAPER Pack Pad
Shop at:
SSS
Simon Says Stamp Premium Ink Pad INTENSE BLACK
Shop at:
SSS
ZIG Wink of Stella GLITTER CLEAR Brush Tip Marker
Shop at:
SSS
MINI MISTI PRECISION STAMPER Stamping Tool Kit
Shop at:
SSS
3M 2 INCH WIDE POST-IT TAPE
Shop at:
SSS
Judikins Eclipse ART MASKING TAPE
Shop at:
SSS
We R Memory Keepers TRIM AND SCORE Board
Shop at:
SSS
Tonic EBONY BLACK Nuvo Crystal Drops
Shop at:
SSS
Tim Holtz Distress Ink Pad HICKORY SMOKE
Shop at:
SSS
Copic Sketch Marker RV02 SUGARED ALMOND
Shop at:
SSS
Copic Sketch Marker RV04 SHOCK PINK
Shop at:
SSS
Copic Sketch MARKER E99 BAKED CLAY
Shop at:
SSS
Copic Sketch Marker C1 COOL GRAY
Shop at:
SSS
Copic Sketch MARKER C3 COOL GRAY
Shop at:
SSS
Copic Sketch MARKER C5 COOL GRAY
Shop at:
SSS
Copic Sketch Marker BG11 MOON WHITE
Shop at:
SSS
Copic Sketch Marker BG45 NILE BLUE
Shop at:
SSS
Copic Sketch Marker BG49 DUCK BLUE
Shop at:
SSS
Copic Sketch Marker YG03 YELLOW GREEN
Shop at:
SSS
Copic Sketch COLORLESS BLENDER Marker
Shop at:
SSS
Copic Sketch Marker Y00 BARIUM YELLOW
Shop at:
SSS
Copic Sketch MARKER G05 EMERALD GREEN
Shop at:
SSS
Copic Sketch Marker YR23 YELLOW OCHRE
Shop at:
SSS
Copic Sketch MARKER G17 FOREST GREEN
Shop at:
SSS
Copic Sketch MARKER G28 OCEAN GREEN
Shop at:
SSS
Copic Sketch Marker E25 CARIBE COCOA
Shop at:
SSS
Copic Sketch Marker Y02 CANARY YELLOW
Shop at:
SSS
Copic Sketch Marker B00 FROST BLUE
Shop at:
SSS
Copic Sketch Marker RV00 WATER LILY
Shop at:
SSS
Copic Sketch Marker Y0000 YELLOW FLUORITE
Shop at:
SSS
Copic Sketch MARKER BG09 BLUE GREEN
Shop at:
SSS
Copic Sketch Marker BV000 IRIDESCENT MAUVE
Shop at:
SSS
Copic Sketch MARKER BV02 PRUNE
Shop at:
SSS

Connect with us:

Follow Us on Pinterest