Hello everyone! This is Yana Smakula adding a bit of texture and dimension to one layer cards.
I’ll be honest with you, I rarely make one layer cards as I often have the urge to add something, to add that one more layer, one more die cut, one more panel (plus I almost never make cards without the use of foam adhesive). I always feel like my one layer cards lack something.
By adding a bit of texture and dimension to plain white cardstock I am able to spice my cards up and add that special little finishing touch to them. If you struggle with creating one layer projects like I do, hopefully you’ll find my tips and video at the end of this post helpful.

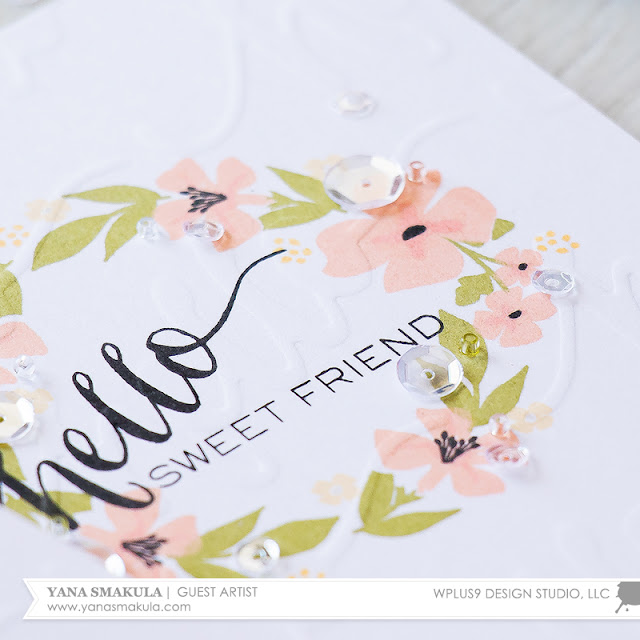
To create these cards I first did my stamping and it is important to do stamping first. I used Fresh Cut Wreaths stamp set as well as a number of various colors of ink (all listed below in the suppy list) and stamped a floral wreath on each of my panels (when I am making one layer projects I prefer to work on a cardstock panel rather than on a cardbase directly) and also used Hand Lettered Hello stamp set to stamp the sentiments.
Before moving onto the next step I wanted to mention Fairy Dust dye ink. I used this color to replace green on one of my panels and I ended up with a stunning soft look. This is the perfect very light gray color and it complements any other color wonderfully.

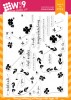
To add texture and dimension to my stamped panels I went with embossing; and by embossing I mean dry embossing. You can use an embossing folder to emboss a design onto cardstock, but for one layer cards I feel embossing folders add just too much dimension. So to create the perfect amount of dimension and texture and also to make sure my embossed design would match my stamped piece I created my own embossing plate by using cardstock and a die.

Because my embossing is white on white it is very hard to capture, but you can still see the texture I was able to add to my panels with a simple die cutting trick.
Watch my video tutorial to learn how to create a cardstock embossing plate and how to emboss with it to add beautiful texture to your stamped panels.
To finish my cards I adhered my panels onto A2 top folding card bases and embellished each with clear sequins and beads. I also added a touch of glitter by using a glitter pen.

While it might look like creating cardstock embossing plate is a time consuming process (and the plate might not look durable) it is a great way to stretch the supplies you already have and add that wow touch to your cards. And believe me, if you are careful you can re-use your DIY embossing plate over and over again! Store it together with your stamps so that you don’t forget you have it!
Have fun with your one layer projects!
Featured Supplies
For your convenience, here is a list of the supplies (or equivalents) used on today's project(s), along with links to purchase. Please note: this list does contain some affiliate links.