Saturday, September 10, 2016

VIDEO: Negative Die Cut Masking

I previewed today's card on Instagram a week or two ago and many of you seemed to really love it.
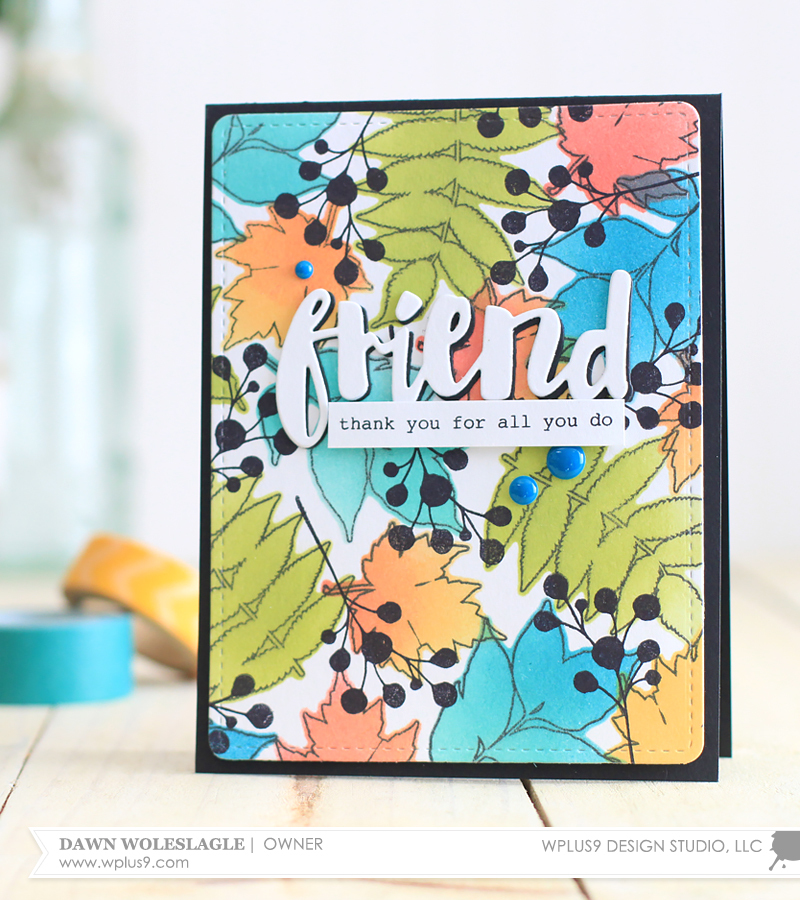
This is one those techniques that yields amazing results. You know, the ones that people look at and ask, "how did you do that?". And the best part is, it's pretty darn simple!

In today's video, I'll share how I used the negative masks from die cuts to add quick and easy graduated color to these outlined images.

Watch above or watch in HD at YouTube

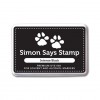
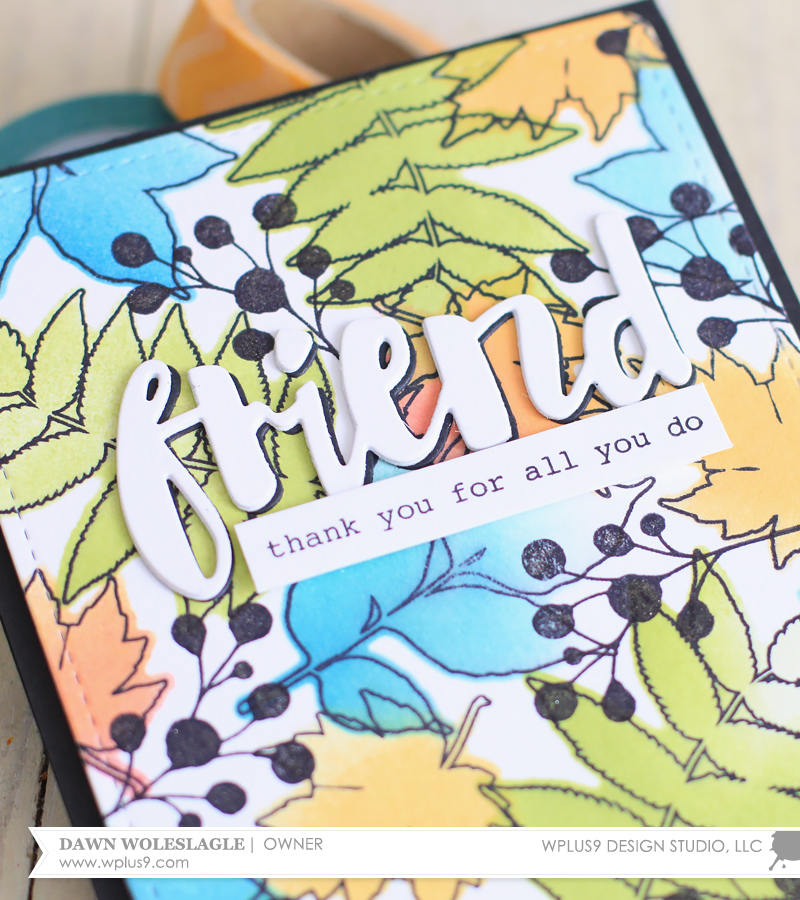
As I mentioned in the video, I used Simons Says Stamp's Intense Black ink on the first card and it became a much softer black after I inked over it. I actually ended up preferring this one as it really created a visual difference between the leaves and the stark black of the floral berry image that I added using the Wplus9 Black PURE Color Dye Ink.

You can see the difference in the card below where I used the Wplus9 Black PURE Color Dye Ink for both the leaf outlines and the floral berry.
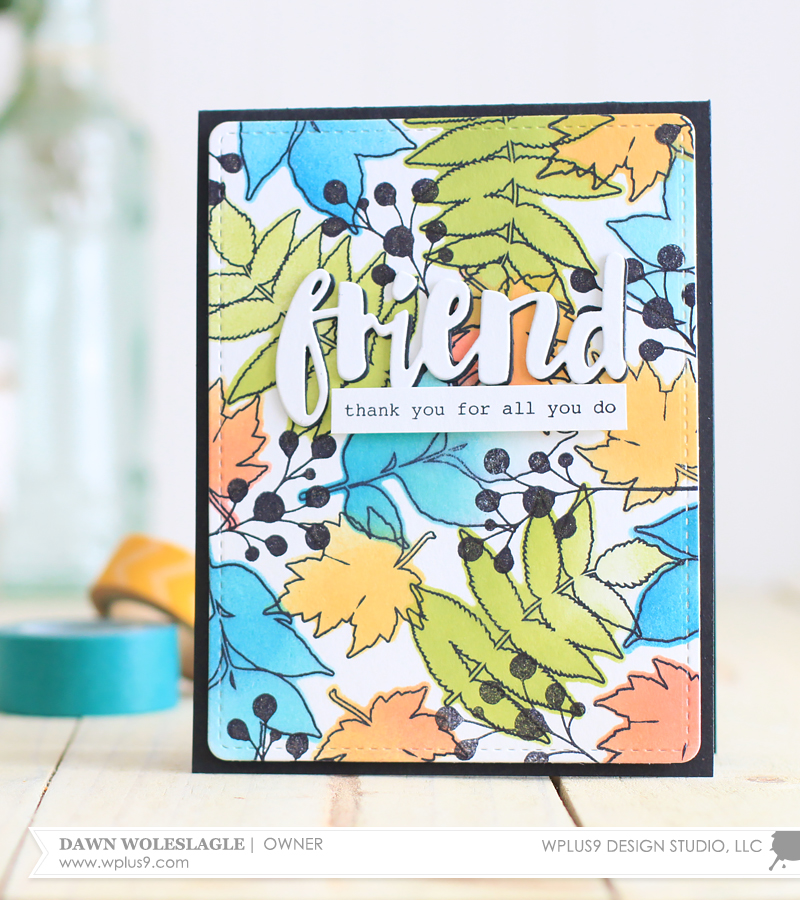
I still like them both, but I think that one little change sure makes a big difference to the final outcome. How about you? Or, perhaps it's not as noticeable as I think is.


Featured Supplies

For your convenience, here is a list of the supplies (or equivalents) used on today's project(s), along with links to purchase. Please note: this list does contain some affiliate links.

Thursday, September 8, 2016

Stretching Your Stamps with Joni

Hello everyone! Joni here, sharing these cute bunnies from the Bunny Mask-erade stamp set. Although, these bunnies were created specifically for Halloween, I wanted to create a different idea of using these bunnies.

Originally, these little guys are shirtless because they are meant to be dressed up as other animals. But I wanted to take this card in a totally different direction. So I added some shirts. To begin, I first stamped the bunnies, then drew some shirts on them with a Copic Multiliner and colored them with Copics. Because a few straight lines are all that are needed, anyone can do this!

To create the background, I distressed the bottom of the panel (ground) with Tim Holtz Distress Ink in Gathered Twigs and added some dots using Copic markers. My island need some palm trees, so I used the ones from the Drummer Boystamp set along with the companion die. Finally, I added the sentiment from Happy Mail.

I adhered the bunnies with foam tape in front of the palm trees and embellished with a few Marshmallow sequins from Pretty Pink Posh to finish off the card.

I hope you enjoyed and are having a wonderful week!

Wednesday, September 7, 2016

VIDEO: Hello Forest Friends with Kelly

Hello Crafters! I have a confession to make. I cannot stop using these bears..

Can. Not.

very time I sit down to create I'm like "Where are the bears?!" I mean how could I not love them. I decided to try and start working those fall color schemes into my card but I kept it super light.

It's not Autumn yet. :)

You can watch the video below where I tried to share a few tips on coloring with the markers you own along with how I handle where I want to stamp my sentiment.

Watch above or watch in HD at YouTube

I hope the shading tips help you to use what you have. Until, you want to buy more of course. I'll always support you in your crafty purchases.

Thank you so much for visiting!


Featured Supplies

For your convenience, here is a list of the supplies (or equivalents) used on today's project(s), along with links to purchase. Please note: this list does contain some affiliate links.


Connect with us:

Follow Us on Pinterest