
Hey folks, It’s Cynde from The Pink Envelope! I’m so excited to be back for another Wplus9 Guest Design Post. The last time I visited, I shared a card that had loads of masking to make a scene. Well, today’s card is much the same, however I wanted to take a closer look at how it works with a more streamlined layout.
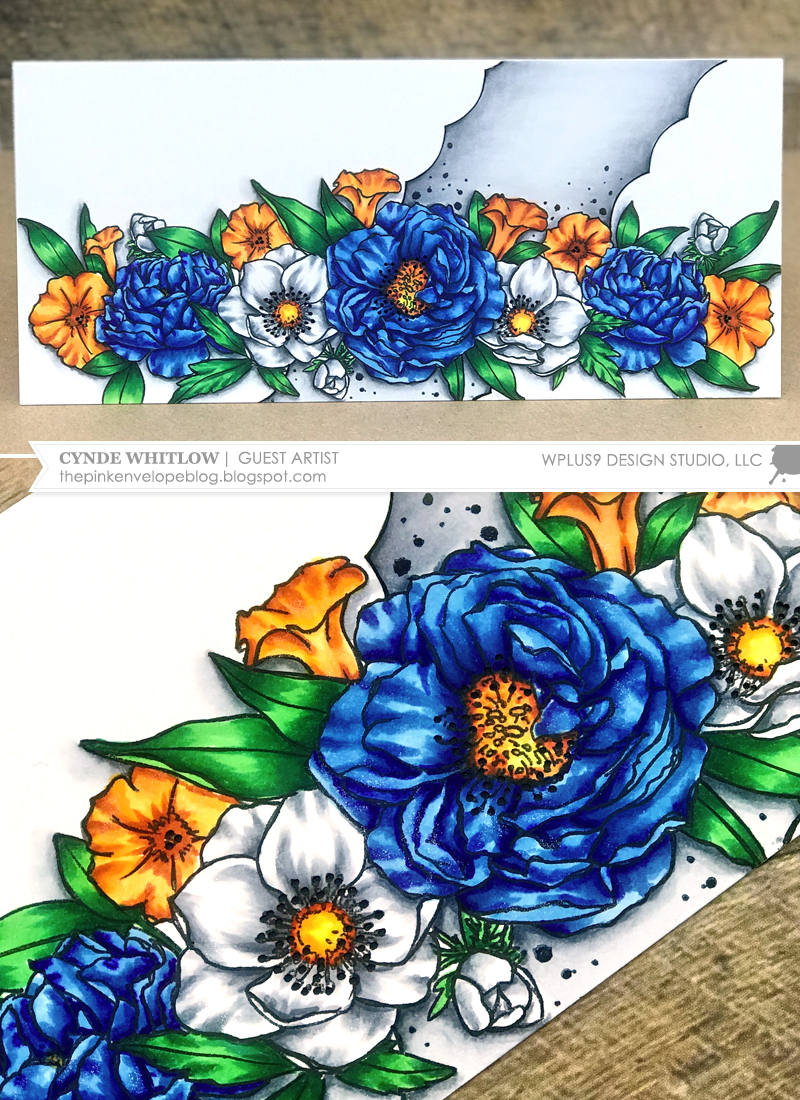
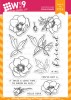
For my card today, I used the Wplus9 Modern Floral Series because these flowers are simply gorgeous!
I will cover some of the details here, but I go over loads more information in my video, so be sure to stop by and check that out!
Scenes like these can seem overwhelming. They are surprisingly easy though! In the video, I show you how I approach each step along the way and I talk about how and why I color it all in.
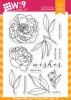
The first thing I always recommend to do first is stamp out all of your images for your masks. I love 3M Full Stick Post-It Notes, because you can stamp the image once, pull off several sheets at time, cut that out all at once. It's a huge time saver! I took out all of the images that I thought I wanted to use from the Modern Anemones, Modern Peonies and Modern Petunias stamp sets and made masks from them. Even if I wasn't sure I was going to use them. Better to have them if I need them while I'm doing all of my cutting.
The next important this I recommend is making a plan. Copy paper is inexpensive, so if you don't like what you've stamped so far, throw it away and start over. Whatever paper or cardstock you using to stamp out your plan, make sure that you have it cut to the exact dimensions that your finished card will be. This way you know exactly how much space you'll be working with when you really get down to business.

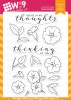
The picture above was what my plan looked like. I colored it in to show you guys in what order each image would be stamped, but this is where I would have started before I did any actual stamping on my card panel.
If you follow the plan above, your stamping would go in rainbow order. When masking, your foreground images always get stamped first. In this case, I stamped the large peony (as shown in pink) from the Modern Peonies stamp set first and masked it off with my Post-It mask, then moved on to the 2 anemones (shown in red) from Modern Anemones and again, masked those off. Next was a petunia (as shown in orange) and other images. I continued to do this - stamping and masking - until I had everything stamped.
I used a Copic friendly paper and ink since I knew I would be coloring this card with Copic Markers. And since I knew that there would be A LOT of coloring, I kept my techniques simple. Which is something else, I highly recommend. The trick is in the scene itself, not necessarily in how fancy the coloring is.
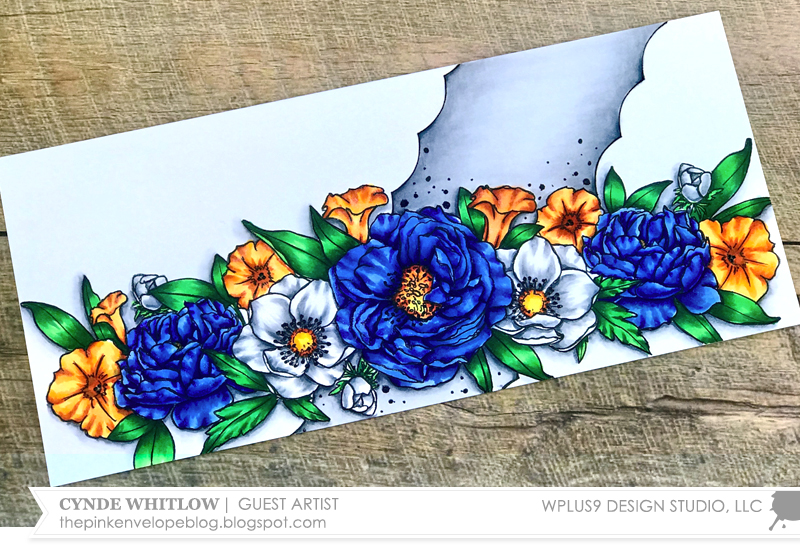
Just in case you’re interested in the colors I used:
- Blue Peonies - B12/B14/B18
- Anemones, Drop Shadows and faux frame - C00/N1/C3/N5
- Petunias - Y02/YR12/YR14/YR18/Y38
My other tip is don't feel like you have to go for the gold and make a really large card. You don't. An A2 (4.25" x 5.5") card would work just fine folks and it will still look fab!
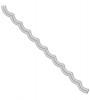
You could absolutely stick strictly to just stamping your scene, coloring it in and you would be good to go. I however, do not know how to leave well enough alone, so I used the Wplus9 Scalloped Border Die and made a stencil out of acetate. Then, I placed it where I wanted it on my panel, traced it with a Copic friendly pen and colored it in.
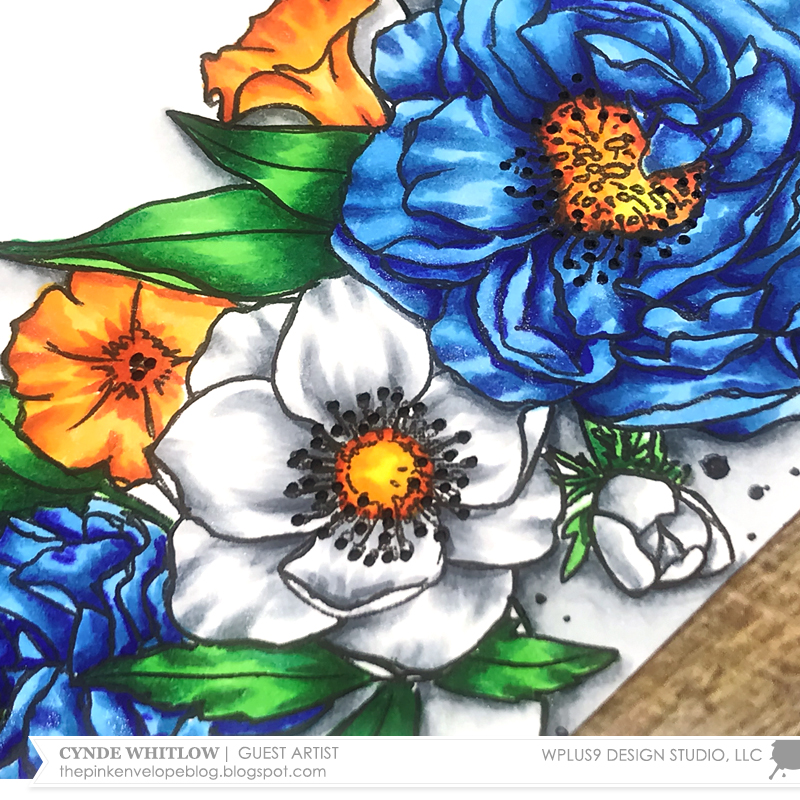
I really enjoy using those tiny lil images in stamp set, so on this card, I used the little dots that are from the Wplus9 Biggest Fan Set stamped with Wplus9 Black Ink. No card is complete without some shimmer, so I used the Spectrum Noir Clear Overlay Pen on all of the highlights on each flower.
Whew! It seems like a lot, and I could talk about it all day. Masking is my favorite technique in card making because the possibilities are endless. Using images like these make it that much more fun! I do cover tons more information in the video so be sure to check it out!
I hope you enjoyed my card today and thanks so much for stopping by to see me!
Until next time! ~Cynde
Featured Supplies
For your convenience, here is a list of the featured Wplus9 supplies used on today's project(s), along with links to purchase.


BEAUTIFULLY DONE!!! I enjoyed watching your video & seeing your technique! SUPER JOB & THANK YOU!!! ;)
ReplyDelete"Turtle Bunny" is a great take on life and stamping!!!! LOVE
ReplyDeleteDefinitely makes me wanna go mask away!!! TFS!
ReplyDelete