Wednesday, June 30, 2010

July 2010 Release Sneak Peek Day 3: Full Reveal

Welcome to Day 3 of the July Release, the moment you've been waiting for, the full reveal. Introducing the newest additions to the Wplus9 Design Studio. Both sets will be available for purchase on Thursday, July 1st at www.wplus9.com.

Mehndi Medallions

Details

Set of 15 high-quality photo-polymer stamps;
8 sentiments, 6 medallions, and 1 border image
Full Set Dimensions: 4x6
Price: $13


Hooked On You


Details

Set of 16 high-quality photo-polymer stamps;
7 sentiments, 8 images, and 1 background building image
Full Set Dimensions: 4 x 6
Price: $13

Thanks so much for joining us for this release, and don't forget to check the winners page here to see if you were one of the lucky winners. All winners will be posted by noon the following day. Kerrianne has another card sample using Hooked on You over at Retro Girly Creative. And don't forget to join us tomorrow to see what the entire Wplus9 Design Team has done with our newest release!

Tuesday, June 29, 2010

July 2010 Sneak Peek Day 2: Hooked on You

Welcome back to day 2 of the July Release Sneak Peeks! I just wanted to thank you all for your comments and support, you all really make this the most enjoyable "job" I've ever had!

Today, I am honored and proud to formally introduce you to one of my best friends, Kerriane Gwin.

This girl is about as true blue as it gets! She is an amazing illustrator, a fantastic designer, can kick butt and take names in a corporate meeting, and best of all, puts up with me. When I started playing around with the idea of starting Wplus9, I just knew that Kerrianne would play a large role. When she pitched the idea of "Hooked On You" to me, I said "Sure, illustrate it." Once she realized that I wasn't kidding, she went to town, and produced the cutest little fish I've ever seen. These little guys are so fun and a great set for card creating for every gender and age.

Hooked On You

  • is a 4x6 clear photopolymer stamp set
  • contains 16 stamps; 7 sentiments, 8 images, and 1 background building image
  • will be available for purchase July 1st for just $13

For my first card, I focused on the largest fish in the set. This guy is oozing with personality! I stamped him in black onto a 3 inch circle and colored him with Copic markers. I am diligently practicing with those little gems. And slowly learning what works best for me. I still find that laying all of my base color first and adding shadows by either going over with the same color or a shade darker is working best for me. I curved the "Happy Birthday" sentiment, included in this set, and stamped it just below in black as well. I finished off the focal image by adding the cute little cluster of bubbles and just adding a little crescent swipe in each with a Copic.

For the card base, I added a Pacific Point (Stampin' Up!) blue panel and stamped it with the wavy background image in Versamark. A bit of Pure Poppy saddle stitched ribbon (Papertrey Ink) adds the finishing touch to this simple gender neutral card. The finished size of this card is 5x5" square.

For this card, I specifically wanted to create a manly card that wasn't stuffy and dull. I'm a very sarcastic, tongue-in-cheek kind of girl, so this sentiment is one of my favorites ever! I love how this turned out. I used one of the small fish from the set and stamped him repeated onto Kraft cardstock (Stampin' Up!) in Dark Brown (Colorbox) ink. This created a "sea" of ordinary, identical fish. The perfect backdrop for that golden little guy to stand out in.

I stamped him again onto white cardstock, colored him with Copics, and popped him on dimensionals. I added the sentiment on a white strip of cardstock and stitched one edge with some Rustic Twine (Papertrey Ink). Fast, fun, and easy! Just like me! Well...at least fun. ;o)

Want to see more? Keep it going and check out what the girls have done:

  • Kerriane is showing you more of this fab set.
  • And you don't want to miss Maile's card, these two make quite the team!

Want to win Hooked on You? Stop by Kerrianne's and be sure to leave her a comment by 11:59 pm EST Tuesday, June 29th. One random winner will be selected from her comments.

Stop back by tomorrow to see both of these set in their entirety before they go on sale on July 1st. And don't forget July 1st is the Design Team Group Post where we will feature one card from each of the designers for the new release...talk about inspiration!

Project Supplies

Happy Birthday
Stamps: Hooked on You (Wplus9)
Ink: Onyx Brillance and Versamark (Tsukineko); Dark Brown liquid chalk ink (Colorbox); Pacific Point classic ink (Stampin' Up!); Copic markers
Paper: Stamper's Select (Papertrey Ink); Pacific Point cardstock (Stampin' Up!)
Fibers: Pure Poppy saddle stitched ribbon and Rustic Twine (Papertrey Ink)
Other: corner rounder (Fiskars); Circle Scissors Plus (EK Success)

The Only Fish
Stamps: Hooked On You (Wplus9)
Ink: Dark Brown liquid chalk ink (Colorbox); Copic markers
Paper: Kraft cardstock (Stampin' Up!); Stamper's Select white (Papertrey Ink)
Fibers: Rustic Twine (Papertrey Ink)
Other: corner rounder (Fiskars)

Sunday, June 27, 2010

July 2010 Sneak Peek Day 1: Mehndi Medallions

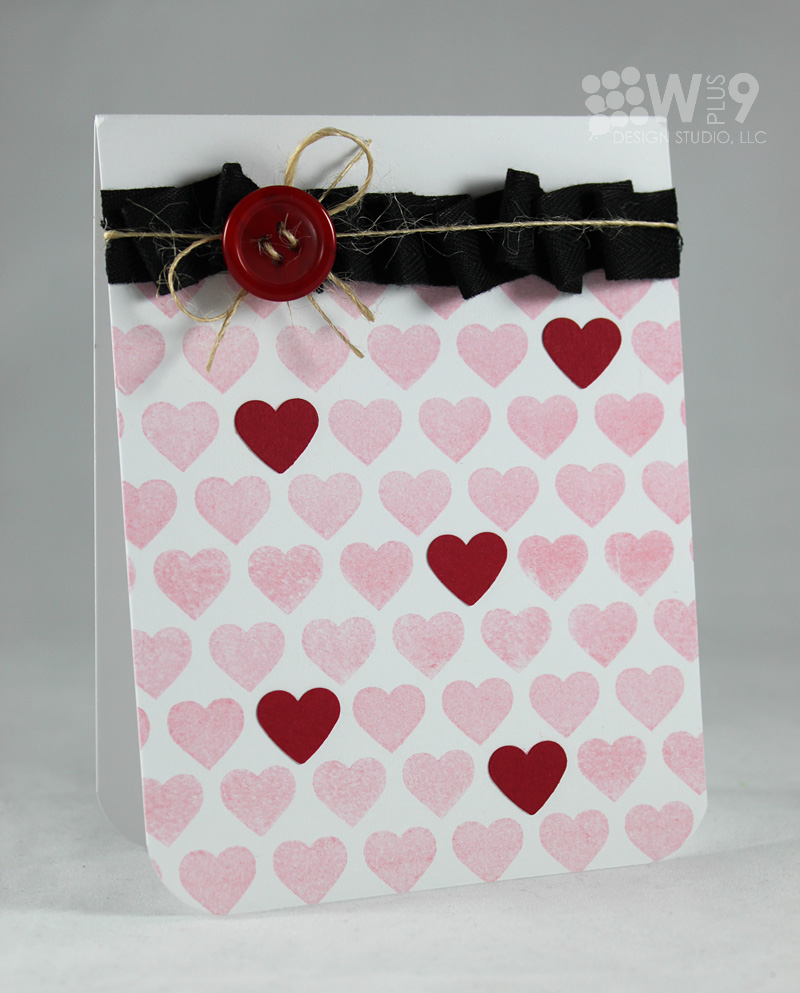
It is the 28th of the month. And here at Wplus9, that means it is time for sneak peeks at our July Release! We have two sets to share with you this month. I know that I say this every month, but I am super excited about this month's release. Why? Because July, is also Ms. Kerrianne Gwin's debut with Wplus9 Design Studio as an illustrator! Kerrianne will be showing you sneak peeks of her stamp set "Hooked on You" over at her blog everyday during the countdown.

I will be previewing her set tomorrow, but today we will be taking a peek at "Mendi Medallions", an extremely versatile set that is so much more than just a "pattern" set.

Mehndi Medallions

  • is a 4x6 clear photopolymer stamp set
  • contains 15 stamps; 8 sentiments, 6 medallions, and 1 border image
  • will be available for purchase July 1st for just $13

My first card focuses on the background building capabilities of this set. There are so many combinations and patterns to be made. I started by stamping a medium sized medallion in repeating rows onto Kraft (SU!) cardstock using Fresh Snow pigment ink (PTI). I then came back in and added the two smallest medallions in a bright aqua (Martha Stewart) and Dark Brown (Colorbox). This pattern and color combo was so striking that I wanted a simple focal point.

After cutting a label from Spellbinder's Labels I, I added the "Celebrate" sentiment in dark brown, and paired it with the large butterfly from Woodgrain Silhouettes Additions. The sentiments in this set are not huge and not small, I'd say they are just right. Celebrate measures approx. 1.5" wide.

This next card is very Maile inspired. She has opened my eyes to the use of a simple circle. Thanks girl! Here I used the border stamp included in today's set and stamped a 3 inch panel alternating between Ocean Tides (PTI) and Pastel Lime Green (Colorbox). I left an open row between each set and came back in and added some Pure Poppy buttons (PTI).

To finish this clean graphic card, I stamped one of the medallion images onto the lower edge of a 2" circle in lime green, added another sentiment from Mehndi Medallions, and finished with a button added to the center of the medallion.

Clean, graphic, and simple. Very easy to recreate!


For this last card, I wanted to show you how fantastic these medallions look colored with Copics. Isn't that amazing! They look almost like flowers to me, or stained glass. These are so bright and colorful the only thing that was needed was the sentiment. I added some ribbon tabs to the edge, just for some interest, pulling the colors from my medallions. But honestly, I think this card could stand on it's own.

I am having so much fun with this set. What about you? How could you see yourself using Mehndi Medallions? Would you like to win a set? Leave me a comment by 11:59 pm EST Monday, June 28th and I will select one random winner. Winners will be posted here.

For more peeks head over to:

  • Kerrianne's to see a sneak peek of her debut set "Hooked On You"
  • Maile Belles, where she is helping me introduce Mehndi Medallions.

Hope to see you tomorrow!

Project Supplies

Celebrate
Stamps: Mehndi Medallions, Woodgrain Silhouette Additions (Wplus9); Wedding Word Print for "kissing off" technique on butterfly (Hero Arts)
Ink: Fresh Snow pigment ink (Papertrey Ink); Aqua pigment ink (Martha Stewart); Dark Brown fluid chalk ink, Cream Brown fluid chalk ink (Colorbox)
Paper: Kraft cardstock (Stampin' Up!); Stamper's Select white cardstock (Papertrey Ink); Chocolate Chip cardstock (Stampin' Up!)
Other: Labels I (Spellbinder); corner rounder (Fiskars); Scorboard (Martha Stewart)

Thinking of You
Stamps: Mehndi Medallions (Wplus9)
Ink: Ocean Tides pigment ink (Papertrey Ink); Pastel Lime Green fluid chalk ink (Colorbox); Onyx Brilliance Dew Drop (Tsukineko)
Paper: Stamper's Select White (Papertrey Ink)
Other: Circle Scissors Plus (EK Success); Pure Poppy vintage buttons (Papertrey Ink); needle and thread

Thanks for Everything
Stamps: Mehndi Medallions (Wplus9)
Ink: Onyx Brilliance Dew Drop (Tsukineko); Copic markers
Paper: Stamper's Select White (Papertrey Ink)
Fibers: Bordering Blue, Regal Rose grosgrain ribbon, Certainly Celery twill (Stampin' Up!); Lemon Tart grosgrain ribbon (Papertrey Ink)

Thursday, June 24, 2010

Almost Friday! Whew, I for one, couldn't be happier. How about you?

I have had zero time to actually craft this week, but luckily I have a small stash of cards that I haven't shared with you guys. Today, I have a super simple and easy to re-create card.


I used the Wplus9 Background Builders:Hearts set and covered most of the card front in SU!'s Pretty In Pink. Then I punched a few small hearts from the Marvy Uchida heart punch in Real Red. Did you know that the hearts in the stamp set are the exact size and shape as the punch? Pretty cool, huh!?

I finished this card off with some simple black twill, a bit of twine wrapped directly over the twill, and a button. No sentiment here, I wanted something I could use for anything (for someone I love). ;o) Hope you enjoy and are looking forward to the weekend as much as I am!

Project Supplies

Stamps: Background Builders: Hearts (Wplus9 Design Studio)
Ink: Stampin' Up! Pretty In Pink
Paper: Stamper's Select White cardstock(Papertrey Ink); Real Red (Stampin' Up!)
Fibers: Black twill (Offray); Rustic Twine (Papertrey Ink)
Other: Corner Rounder (Fiskars); Heart punch (Marvy Uchida); Vintage Buttons in Pure Poppy (Papertrey Ink)

Monday, June 21, 2010

Back In Stock

Just a quick note to let you know that Woodgrain Silhouettes and the Woodgrain Silhouettes Bundle are back in stock at The Studio.

Thanks everyone and hope you had a fantastic Monday!

Sunday, June 20, 2010

All Eyes On...Ribbon

It's time for another installment of "All Eyes On...". This month we chose to focus on ribbon. And how coincidental that the current PaperCrafts Gallery Idol theme for the remaining top 10 finalists happens to be ribbon? What great timing.

For our feature, we were challenged to use ribbon, whether it be ruffles, flowers, using up left over scraps, ruching, or any other "go-to" technique that we may have for ribbon. The only caveat...no regular bows.

I decided to focus on ruffles. I used a running stitch to gather the ribbon along one edge, creating a beautiful ruffle.

This technique is actually super easy. Trust me...if it wasn't, I wouldn't be doing it. LOL Like I said, all you have to do is create a running stitch down one edge of the ribbon using a needle and thread.

Scrunch the ribbon down the thread while pulling on one end to create the ruffle. Once you have it to the desired length, just tie the thread off and cut the ribbon. Quick tip: If you want to prevent the ribbon from fraying at the cuts, use your fingers to gently rub some clear glue on the ends of the cut ribbon. If you caused a little fray while rubbing on the glue, just wait until it dries and trim again. The glue will dry clear and hold the fibers together.

To adhere the ribbon to the card, I used some clear adhesive lines. I really like the Zips Ultra Thin by Therm-O-Web. If I need a wider line, I just double it up. For this card, I just used a single line along the back edge of the panel.

Now just lay your ribbon along the adhesive and press even to make sure the ribbon is secured. All that was left was to assemble the card.

When adhering the ribbon to the underside, the ribbon will add a bit of bulk. This was easy to compensate for by stacking two dimensionals on top of each other to gain a bit of height on my panel. There are quite a few uses for the technique. You can run the stitch down the center of the ribbon, zig-zagging from side to side to create a true ruched effect like I did here. Or you can run it straight down the middle to create ruffled flowers like I did here.

Are you ready to see what the talented Design Team has done? Click on any of the pics to visit their blog and get full details on their projects.


Project Supplies

Stamps: Wplus9 Design Studio's Woodgrain Silhouettes Additions and Woodgrain Silhouettes; Papertrey Ink's Faux Ribbon
Ink: Stampin' Up! Chocolate Chip die ink; Papertrey Ink Lemon Tart pigment ink; Copic markers BG11 BG13
Paper: Stampin' Up! Kraft cardstock
Fibers: Papertrey Ink Lemon Tart grosgrain ribbon, twine, and Lemon Tart vintage buttons
Fibers:

Friday, June 18, 2010

Wplus9 Sponsors Embellish Color Challenge

It is no secret that I adore Ashley and her extremely talented design team. So I am beyond excited to be sponsoring the current Embellish Magazine Color Challenge!

The fabulous Embellish ladies have selected a baby theme and all showcase our Kisses & Cuddles set. They blew me away as always. Definitely swing by and create a project using the colors pictured below for your chance to win 2 Wplus9 stamp sets of your choice!

Such a beautiful palette, wouldn't you agree? Here is my take on the colors. I actually had a difficult time with this card. But, after 3 grueling hours, I'm pleased to say...I *think* I'm happy with it. LOL


Once I was finished, I noticed that this also happens to fit Laura's Sketch #54 over at 2 Sketches 4 You. Bonus!

Project Supplies

Stamps
Wplus9 Kisses & Cuddles, Background Builders: Hearts
Ink
Stampin' Up! Close to Cocoa dye ink; ColorBox Pastel Peach chalk ink
Paper
Papertrey Ink Rustic Cream, Spring Moss, Stampers Select (for coloring) cardstock
Other
Y21, Y35 Copic markers; Martha Stewart border punch; Offray ribbon, needle and thread

Connect with us:

Follow Us on Pinterest